|
|
|
|
|
||
|
|
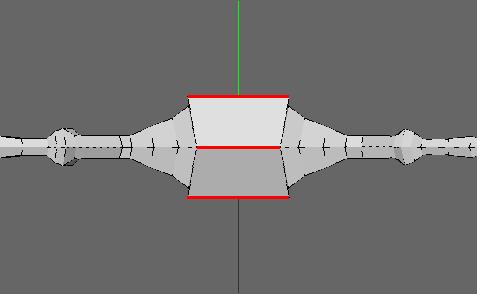
Hit Shift+Z, select the 3 horizontal edges shown below and Connect them.
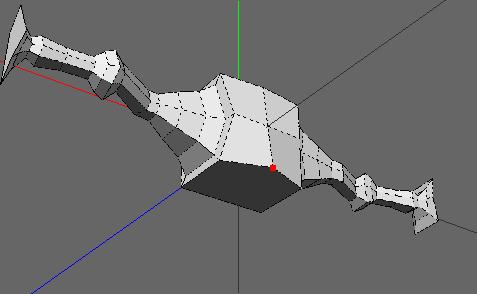
Hit spacebar. Now hit Shift+y. Click on the large face, shown below, and (Click-R) to create an inset.

Extrude it a bit, then use Scale > Uniform
to shrink it. Repeat 3 times.
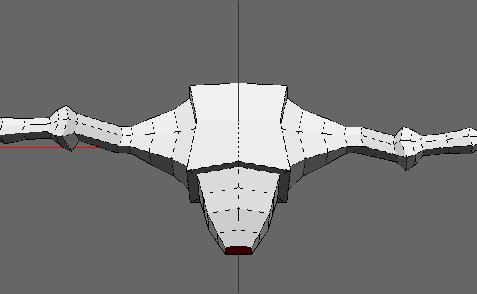
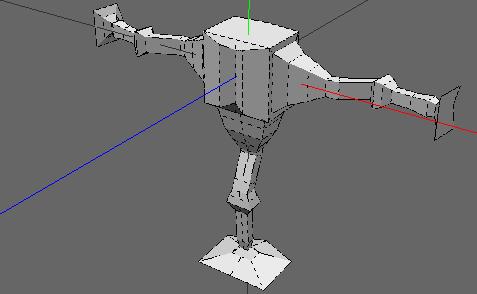
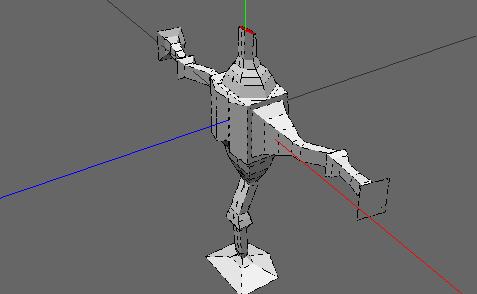
From here, follow the previous instructions for the arms to complete this 'leg'. After you're done, it should look like this:
Select the edges shown below, and
connect them.
Select the new face, (Click-R) and Bevel it so it looks like the picture below.
Extrude it a little, then scale it down. Repeat 4 times.
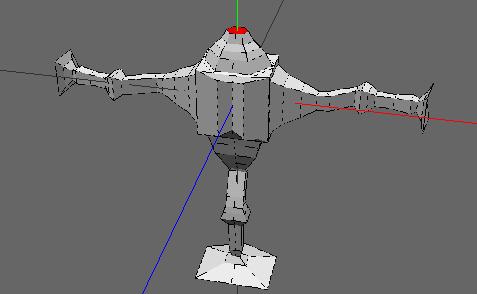
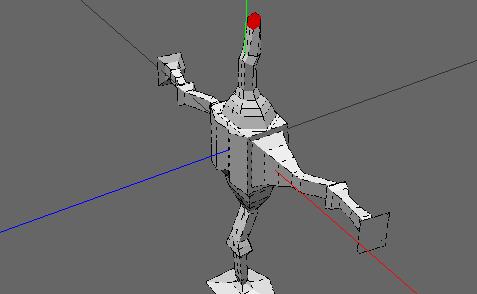
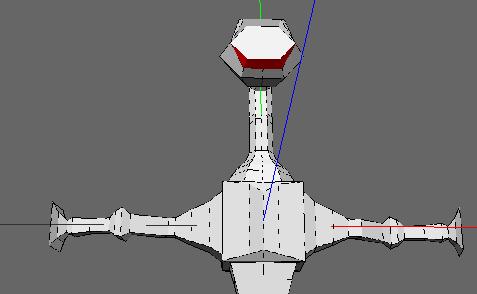
With the face still selected, extrude a fairly long piece of 'neck', then use Rotate > X to rotate it backwards.
Extrude another, shorter piece, then use Rotate > X to rotate it forward. Repeat, but extrude a longer piece this time.
Extrude a little bit, then extrude another little bit from it. Rotate > X it forward and scale it up a LOT.
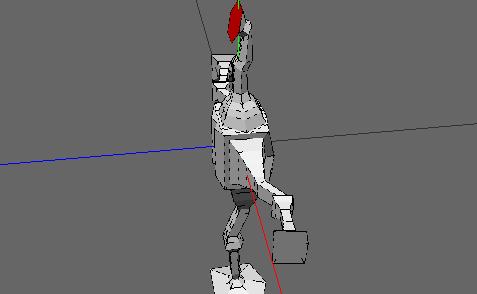
Extrude a fairly large piece and scale it up, then extrude another fairly large piece and scale it down.
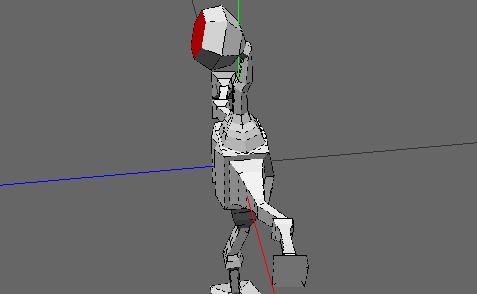
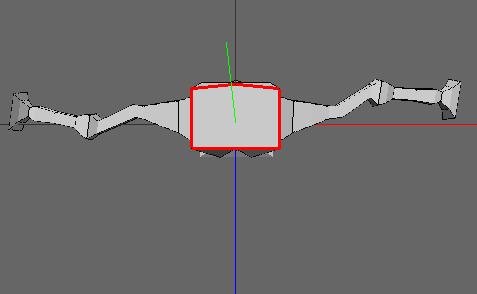
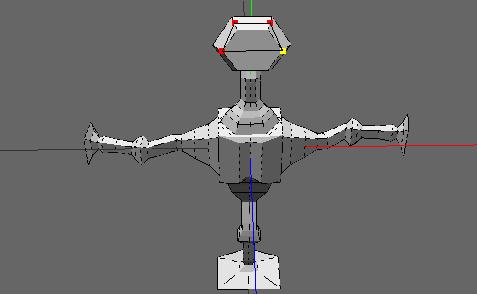
Select the top two edges, shown below, and connect them.
Connect the vertices shown below. Dissolve the large, horizontal edge that is formed, but leave the others.
Select the edge shown below and cut it in half.
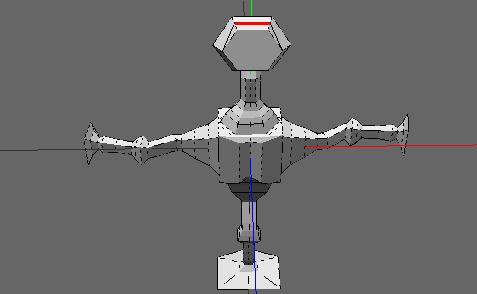
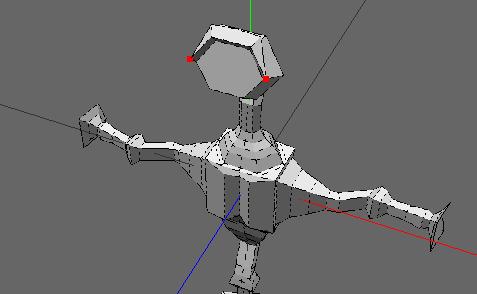
Select the 3 vertices shown below and use Move > Normal to move them out just a bit.
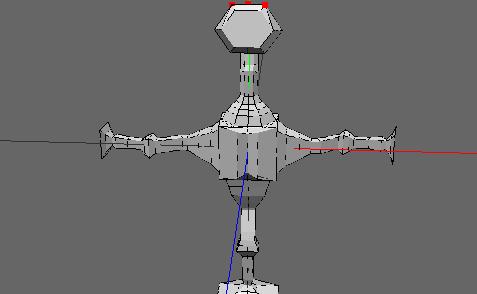
Select the faces shown below, then use Extrude Region > Normal to extrude them a bit.
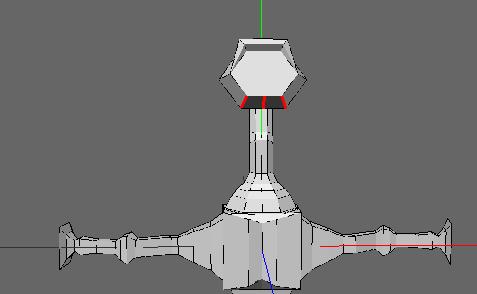
Select these two vertices and collapse them.
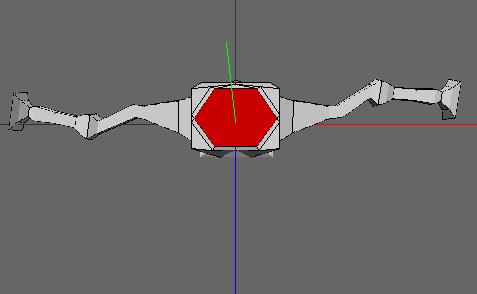
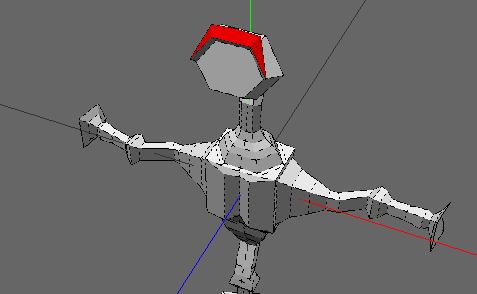
Select the three edges shown below and connect them.
Connect the vertices shown below, dissolve the long edge which cuts across the large, hexagonal face.
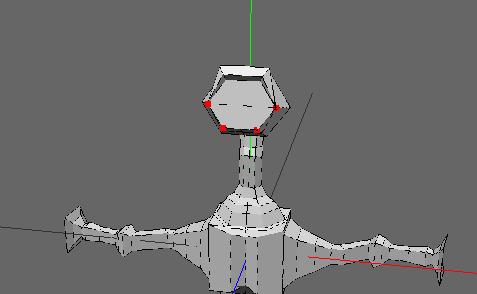
Select these three vertices and use Move > Normal to use them just a little.
Select these faces and use Extrude Region > Normal to extrude them slightly.
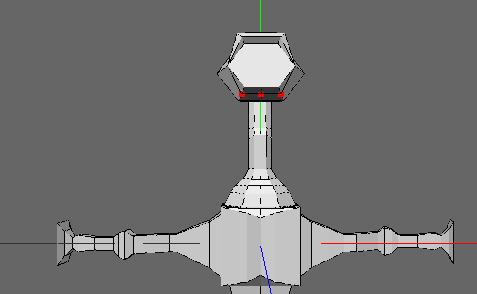
Collapse these two edges.

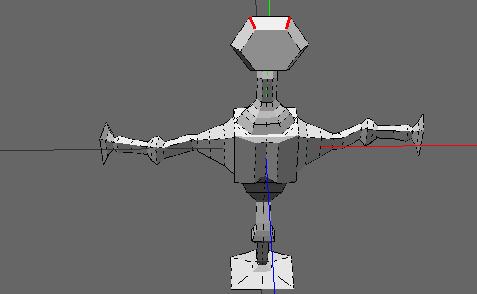
Okay, now you're ready to do The Eye!
This is where the recorded demo cuts out, so if you were using that, the
rest is up to you.