|
|
|
|
|
||
|
|
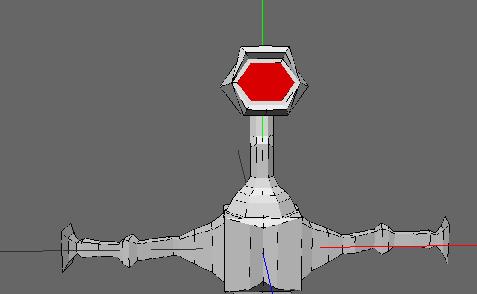
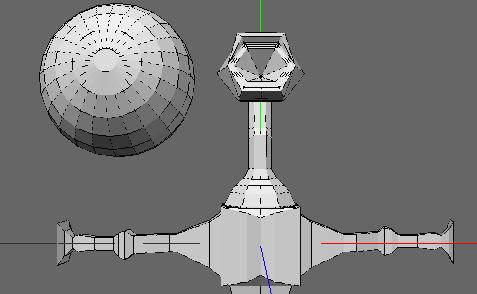
Select the front face, shown below, and use Inset so it looks like the picture.
With that face still selected, hit the '+' key to expand your selection to the adjacent faces. Release the central face by clicking on it. Bevel the remaining faces.
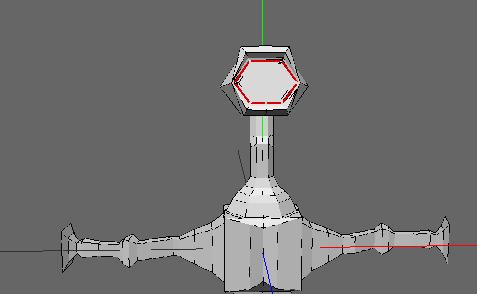
Release your selection with Spacebar. Now select the central face and extrude it inward.
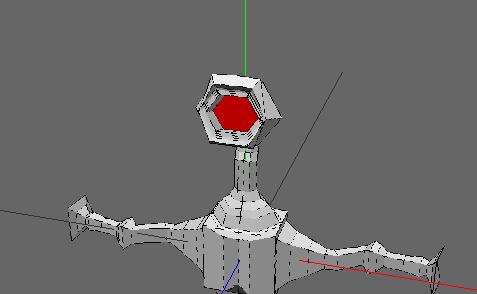
With the face still selected, (Click-R) and Collapse it. Now it should look like this:
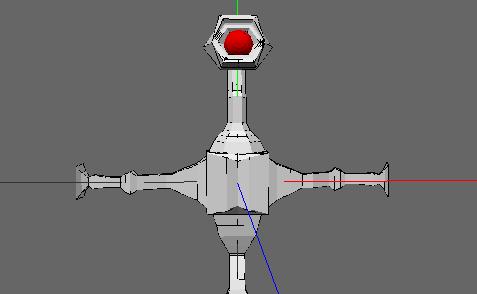
Okay, now let's make the eye. With nothing selected, (Click-R)
and choose sphere. Surprisingly enough, this should create a sphere
exactly where you don't want it, in the middle of your model, but don't
worry, click on the Object selector, select the Sphere, and use Move >
Y and X to move it to a better spot. Now rotate it so that, looking
at it down the z axis, the round face on it's base is in front.
Now shrink the sphere with Scale > Uniform and move it into the eyesocket. This will take some fine-tuning, so move it only in one axis at a time. You'll also probably have to shrink or expand it.
Okay, that's it, you're done! Now, select both objects, the sphere
and the body, and (Click-R) and choose 'Smooth.' If you feel like
it, smooth it again. When you're finished, it should probably look
something like this:
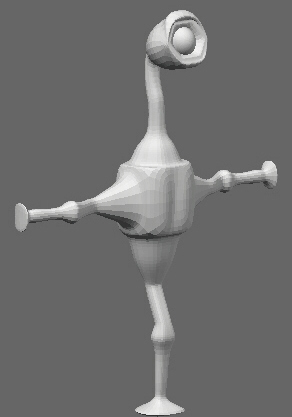
Remember, though, before smoothing it, you should apply color, then paint it after smoothing.